Indulgent Homemade Heath Bar Ice Cream: A Summer Treat Like No Other
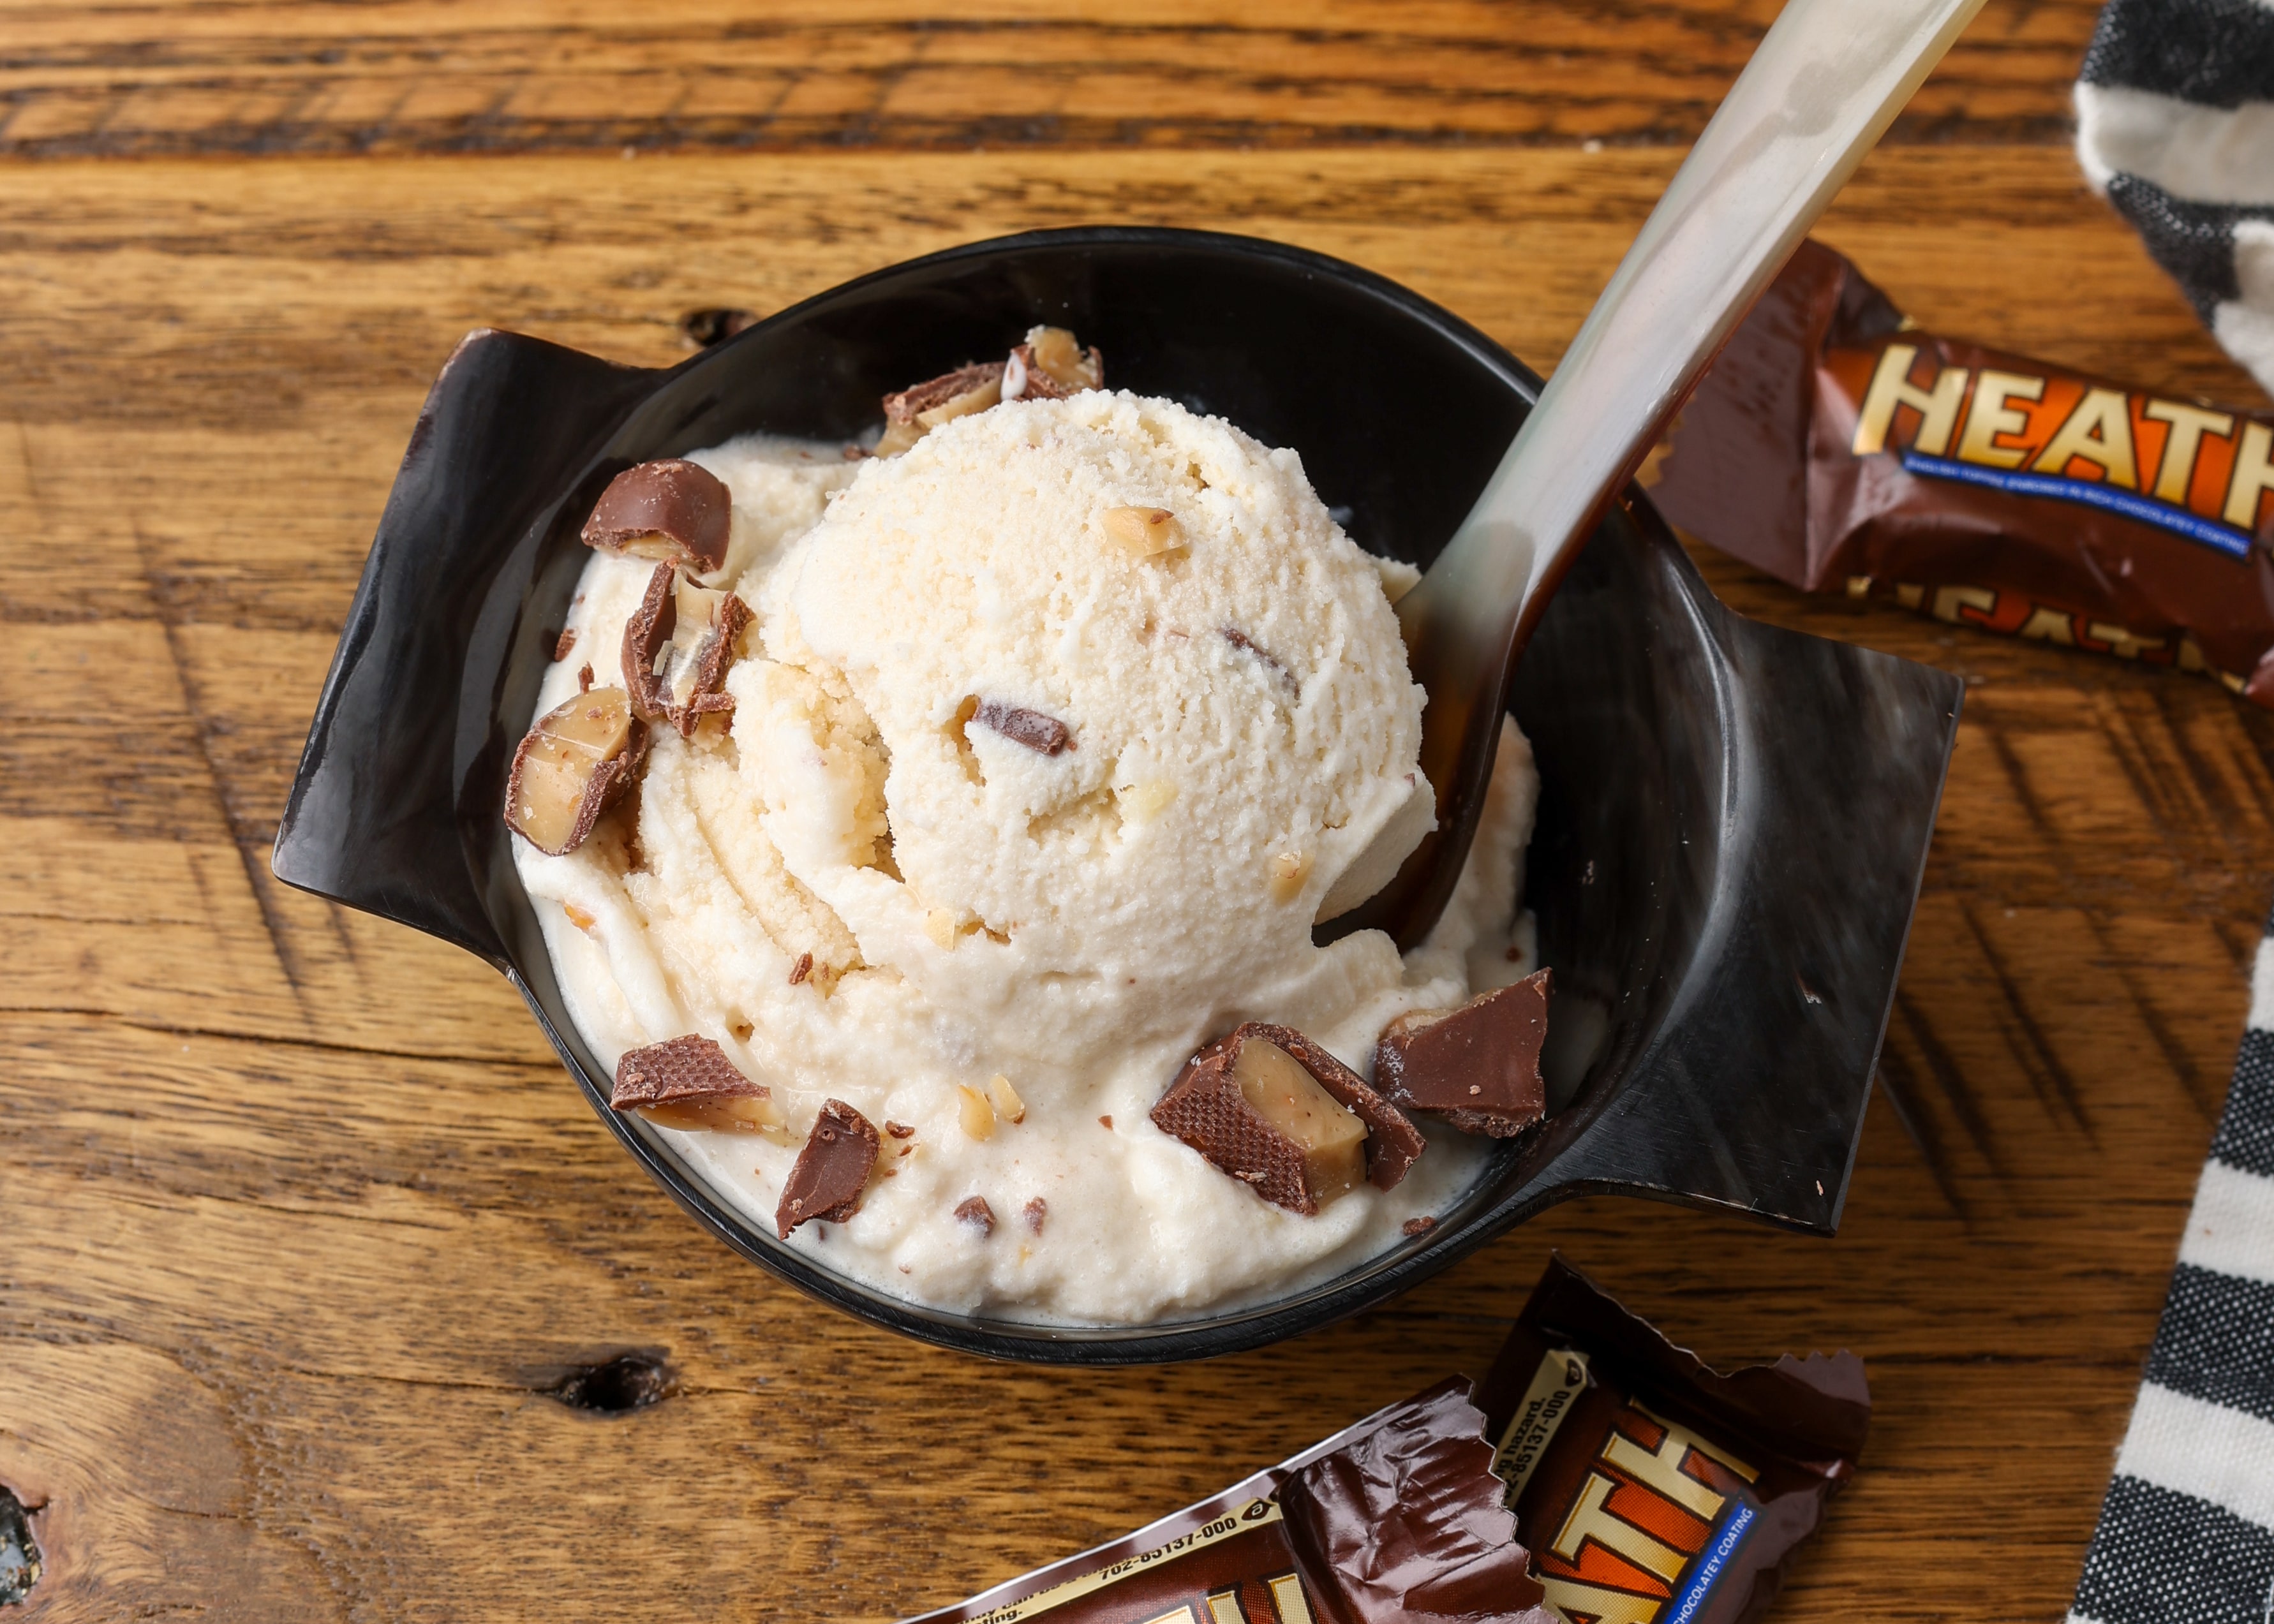
There's something uniquely satisfying about crafting your own ice cream, especially when it involves one of America's most beloved candy bars. Picture this: a lusciously smooth, creamy ice cream base, generously studded with those irresistible bits of buttery, crunchy, chocolate-covered toffee that make a Heath bar so iconic. This isn't just any dessert; it's
homemade Heath Bar ice cream – a symphony of textures and flavors that promises to transform an ordinary summer day into an extraordinary culinary event.
While store shelves might offer various ice cream concoctions, nothing quite compares to the fresh, vibrant taste and customizable perfection of a batch made right in your kitchen. From the moment you crush those chocolatey toffee bars to the first spoonful of frozen delight, the process is as rewarding as the treat itself. Whether you're a seasoned ice cream maker or a curious beginner, embarking on this delightful journey promises a memorable experience and an even more memorable dessert.
The Allure of Homemade Heath Bar Ice Cream
What is it about
Heath Bar ice cream that captivates so many palates? It's a masterful blend of contrasts. You have the creamy, often rich, dairy base that melts in your mouth, perfectly complemented by the crisp, golden shards of toffee, each piece enrobed in a thin layer of milk chocolate. This delightful textural interplay, combined with the sweet, caramel-like notes of the toffee, creates an addiction-worthy flavor profile that’s hard to resist.
Making it at home elevates this experience to new heights. You control the quality of ingredients, the richness of the base, and, most importantly, the sheer abundance of those delectable Heath bar pieces. No more searching for a sparse crumb; your homemade version can be jam-packed with as much toffee goodness as your heart desires. This isn't just about satisfying a sweet tooth; it's about creating a truly indulgent memory. The Heath bar itself, with its simple yet powerful combination of English toffee and milk chocolate, provides the perfect foundation for a dessert that is both comforting and exhilarating. It’s a nostalgic flavor that transports many back to childhood, now elevated into a sophisticated frozen treat.
Crafting Your Perfect Heath Bar Ice Cream: Ingredients & Preparation
The magic of homemade ice cream begins with a few simple, high-quality ingredients. While the concept seems straightforward, understanding each component's role is key to achieving that perfect scoop.
Essential Ingredients for a Dreamy Base
A classic
Heath Bar ice cream recipe often calls for a straightforward dairy base, allowing the toffee pieces to shine. Here’s a breakdown of the typical components and why they matter:
*
Milk and Half-and-Half: The backbone of your ice cream. Using a combination provides a balance of richness and lightness. Half-and-half, with its higher fat content than milk, contributes to the creamy mouthfeel that is essential for good ice cream, preventing it from becoming too icy. You could even experiment with a higher ratio of half-and-half or add some heavy cream for an even more decadent base, depending on your preference for richness.
*
Sugar: Not just for sweetness, sugar also plays a crucial role in the texture of ice cream. It lowers the freezing point, which helps keep the ice cream softer and more scoopable directly from the freezer. Granulated sugar is standard, but some prefer to use brown sugar for a deeper, more caramel-like undertone in the base itself, which would beautifully complement the toffee.
*
Salt: A tiny pinch of salt is vital. It doesn't make the ice cream salty but rather enhances and balances all the other flavors, particularly the sweetness. It helps to bring out the depth of the vanilla and the caramel notes of the Heath bars.
*
Vanilla Extract: A generous amount of good quality vanilla extract is non-negotiable. It adds warmth, complexity, and a foundational flavor that supports the toffee without overpowering it. Pure vanilla extract will always yield superior results compared to artificial alternatives. While the provided recipe suggests 6 tablespoons, this is a very potent amount. Many home cooks might find 1-2 tablespoons sufficient, but if you love a strong vanilla presence, follow the original guideline or adjust to your taste.
The Star of the Show: Preparing Your Heath Bars
The Heath bars themselves are, without a doubt, the defining element of this delightful dessert. How you prepare them significantly impacts the final texture of your ice cream. The reference recipe suggests 6 Heath candy bars, which typically translates to about 6-8 ounces of toffee goodness.
*
Crushing for Crunch: If you desire small, irregular, crunchy bits distributed throughout your ice cream, crushing the bars is the way to go. The trick here, as seasoned ice cream makers know, is to freeze the Heath bars first. Pop them into the freezer for at least 30 minutes before breaking them. This makes them much more brittle and easier to shatter into varied pieces, ensuring that classic Heath bar crunch. You can place them in a sturdy plastic bag and hit them with a rolling pin or meat tenderizer, or pulse them briefly in a food processor (being careful not to turn them into powder).
*
Slicing for Larger Chunks: For those who prefer more substantial, chewy chunks of toffee and chocolate, slicing the bars is an option. For easier cutting, you’ll want the bars to be at room temperature. This allows for cleaner cuts and larger, more defined pieces that offer a satisfying chew amidst the creamy ice cream. Consider whether you want the Heath bar to melt into the ice cream or retain its distinct chewiness. For more in-depth techniques on preparing your toffee pieces, including tips for preventing sogginess, you can refer to our dedicated guide:
Master Homemade Heath Bar Ice Cream: Toffee Prep Secrets.
The Journey from Mix to Masterpiece: Churning & Freezing
Once your ingredients are prepped, the exciting part begins: transforming liquid into luscious ice cream. This process involves a bit of science and the magic of your ice cream maker.
Mixing Your Heath Bar Ice Cream Base
The first step is simply combining your base ingredients. In a large bowl or pitcher, mix the milk, half-and-half, sugar, and salt. Stir vigorously until the sugar is completely dissolved. This is crucial for a smooth texture; undissolved sugar can lead to a gritty ice cream. Once dissolved, stir in the vanilla extract. Many recipes recommend chilling this mixture thoroughly in the refrigerator for at least 2-4 hours, or even overnight, before churning. A well-chilled base significantly reduces churning time and results in a creamier, smoother ice cream by preventing large ice crystals from forming.
Mastering Your Electric Ice Cream Freezer
The core of homemade ice cream production lies in the churning process. The reference recipe succinctly states: "Process until done according to your electric ice cream freezer." While accurate, there's more to understand for optimal results.
Most modern electric ice cream makers feature a freezer bowl that needs to be pre-frozen for 12-24 hours. Ensure your bowl is completely solid before you begin. Pour your chilled ice cream base into the frozen bowl, then turn on the machine. The dasher will slowly churn the mixture, gradually incorporating air and freezing the liquid into soft-serve consistency.
*
Timing: Churning typically takes 20-30 minutes, but this can vary based on your machine, the initial temperature of your base, and ambient room temperature.
*
Consistency: You'll know it's "done" when the ice cream has the consistency of soft-serve yogurt or a thick milkshake. It will still be quite soft at this stage.
*
Adding Mix-ins: The best time to add your crushed or sliced Heath bar pieces is during the last 5-10 minutes of churning. This ensures they are evenly distributed without being excessively pulverized or sinking to the bottom.
For a detailed walkthrough on maximizing your electric ice cream freezer's performance and achieving perfect consistency every time, consult our guide:
Simple Heath Bar Ice Cream Recipe for Your Electric Freezer.
The Freezing & Ripening Stage
Once churned, your
homemade Heath Bar ice cream will be soft. To achieve that firm, scoopable texture we all love, it needs to "ripen" in the freezer.
* Transfer the soft ice cream from the churner into an airtight container. A shallow, wide container is often better than a tall, narrow one as it allows for quicker and more even freezing.
* Press a piece of plastic wrap directly onto the surface of the ice cream to prevent ice crystals from forming, then seal the container with a lid.
* Freeze for at least 4-6 hours, or preferably overnight, to allow the ice cream to firm up and for the flavors to fully develop and meld.
Elevating Your Homemade Heath Bar Ice Cream Experience
While the basic recipe yields fantastic results, there are always ways to personalize and enhance your
Heath Bar ice cream.
Creative Variations & Additions
Don't be afraid to experiment!
*
Caramel Swirl: For an even richer caramel punch, swirl in some homemade or high-quality store-bought caramel sauce during the last few minutes of churning, or layer it into the container before freezing.
*
Chocolate Overload: Add chocolate chips, chunks, or a ribbon of chocolate fudge sauce to complement the Heath bar's chocolate coating.
*
Nutty Twist: Toasted pecans or almonds would add another layer of crunch and flavor, harmonizing beautifully with the toffee.
*
Coffee Infusion: Add a tablespoon or two of instant espresso powder to the base mixture for a coffee-toffee flavor profile that is absolutely divine.
*
Brown Butter Base: For an exceptionally rich and nutty base, brown some butter before adding it to your milk mixture (allowing it to cool first).
Perfect Serving Suggestions
Presentation can make the experience even more special.
*
Classic Cone or Bowl: Sometimes, simplicity is best. A scoop or two in a waffle cone or a chilled bowl allows the ice cream to be the star.
*
Sundae Supreme: Build an epic sundae with hot fudge, whipped cream, more crushed Heath bar, and a cherry on top.
*
Dessert Accompaniment: Serve a scoop alongside a warm brownie, apple pie, or a slice of pound cake for an incredible textural and flavor contrast.
*
Milkshakes: Blend with a little extra milk for a decadent Heath bar milkshake.
Troubleshooting Common Ice Cream Woes
Even experienced makers can run into issues.
*
Too Icy? This often means too much water, not enough fat, or a base that wasn't thoroughly chilled before churning. Ensure proper ingredient ratios and adequate chilling time. A tablespoon of corn syrup or a splash of alcohol (like a liqueur) can also help inhibit ice crystal formation.
*
Too Hard to Scoop? Your freezer might be too cold, or the ice cream lacks enough sugar or fat to keep it soft. Let it sit at room temperature for 5-10 minutes before scooping.
*
Not Creamy Enough? Ensure your fat content is sufficient (using half-and-half or heavy cream). Over-churning can also sometimes lead to a less creamy texture.
Conclusion
There's an undeniable charm and satisfaction in creating a homemade treat, and
homemade Heath Bar ice cream truly embodies that spirit. From the anticipation of crushing those buttery toffee bars to the joy of that first spoonful, it's an experience that’s rich in flavor, texture, and personal reward. This indulgent frozen dessert, with its perfect blend of creamy sweetness and crunchy, chocolate-covered toffee, is not just a summer treat—it's a year-round delight that promises to bring smiles to faces. So, gather your ingredients, fire up your ice cream maker, and prepare to savor the unparalleled taste of your very own Heath Bar masterpiece. You'll quickly discover why making this irresistible ice cream at home is an effort well worth making.